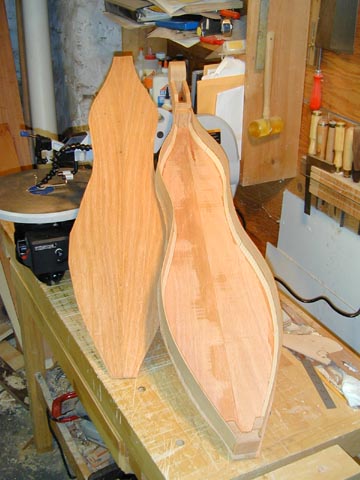
The outline of the soundboard is cut out, but before attaching it, the soundholes must be cut.
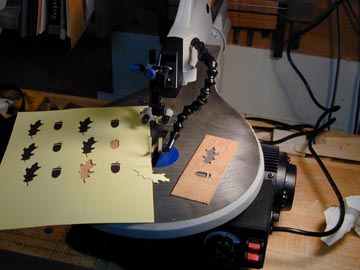
I chose an oak leaf and acorn pattern for the soundholes. The holes can be cut by hand with a coping saw or fret saw, or with a scroll saw like this one. I made a wooden stencil of the shapes so I could lose it and have to do it again next time.

The scroll saw blade can be fed through a tiny hole. I drill a lot of holes to provide stopping places.
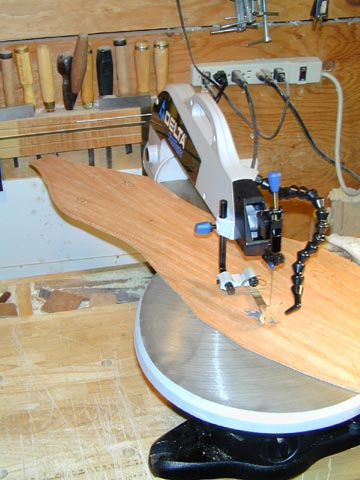
Because of the length of the soundboard, the blade can't quite reach the bottom of the leaf in one direction. As you can see in this photo, the top end of the board will hit the back of the saw when it turns to cut straight down the stem of the leaf. So I turned the blade around, and cut the stem by pulling the board toward me.
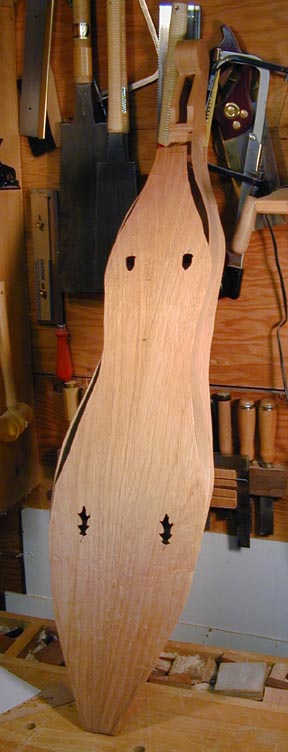
Here's the soundboard ready for mounting on the body.
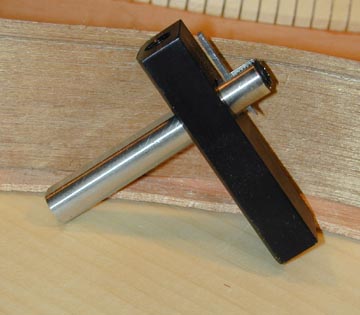
The ribs (sides) were left a little high, so I used this gramil to cut them down.
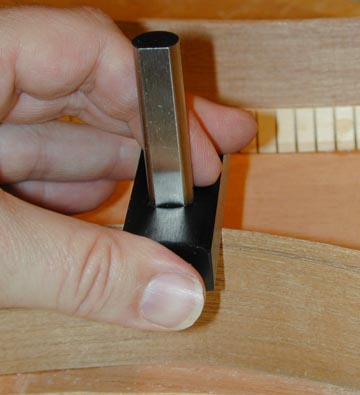
The gramil works like a marking gauge with a sharp blade. A couple of passes around the sides suffice to cut through the thin wood.
Previous Start of Dulcimer Home Next
Resources Glossary of Woodworking and Lutherie Terms
Copyright © 2003 Stephen Miklos